For VPN Setup on Windows 10,
Just watch the Video Tutorial below.
Or Follow our step by step
guide below.
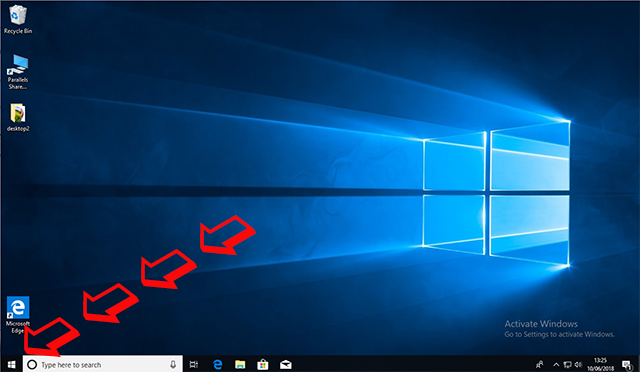
Click on the Windows Logo in the bottom left hand corner.
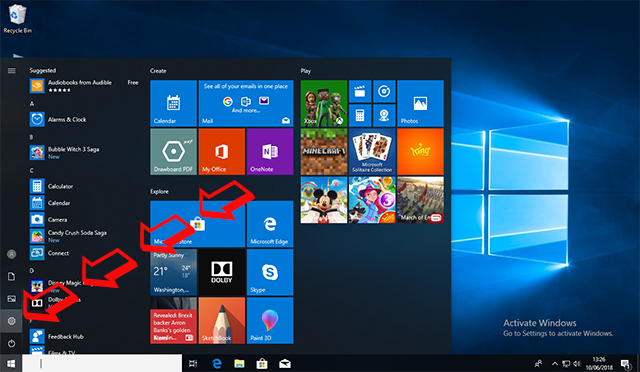
Click on the setting Icon
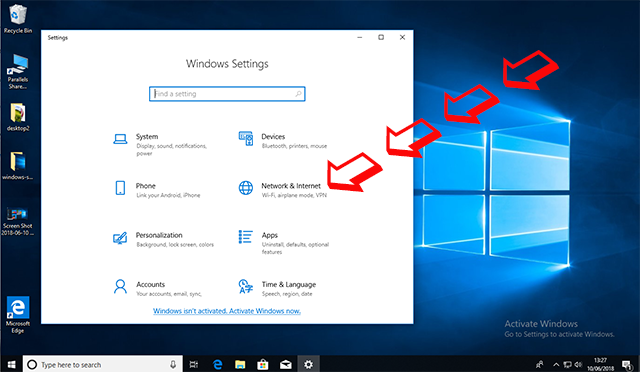
Now click on Network & Internet
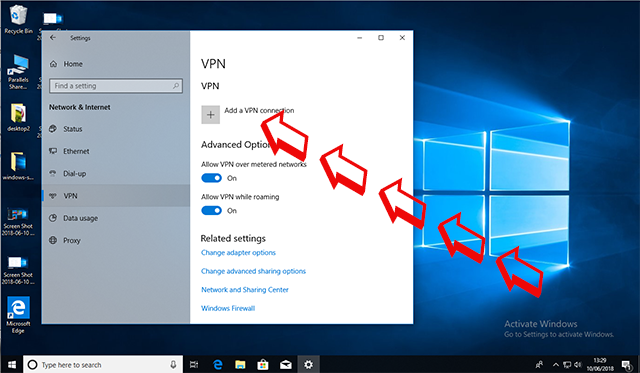
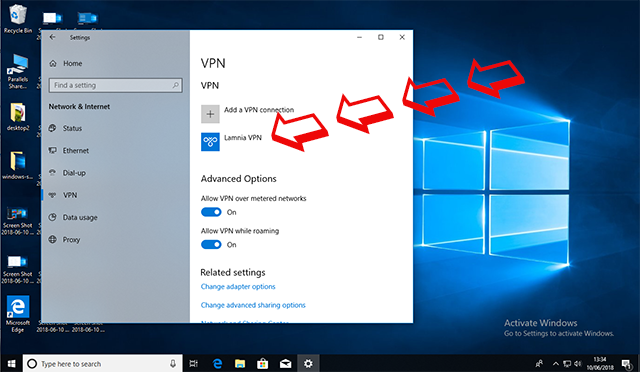
Click on VPN

Then Add a VPN connection
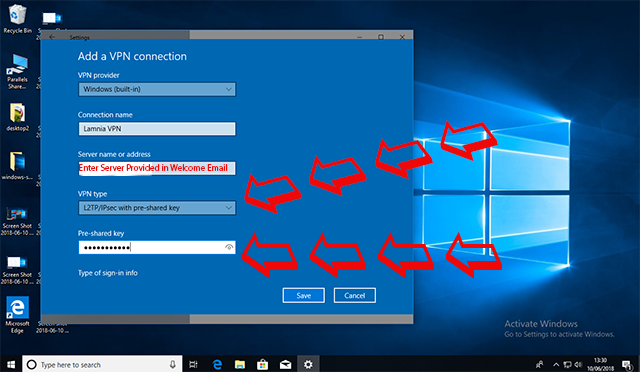
When you sign up we send you all the details required below in a
Welcome Email. Type them carefully as they are CASE sensitive
As VPN provider, select : Windows (built in )
Connection name : lamnia VPN
Server name or address : We send you this in the Welcome Email
VPN type : L2TP/IPSec with pre-shared key
Then Scroll down.

Enter the Pre- shared key : Sent to you in the Welcome Email
Then scroll down.
Type of sign-in infor : Choose Username and password
Username : We send you this in the Welcome Email
Password : We send you this in the Wecome Email
Then Click Save

To Connect Click on the new Lamnia VPN connection
Then Press Connect
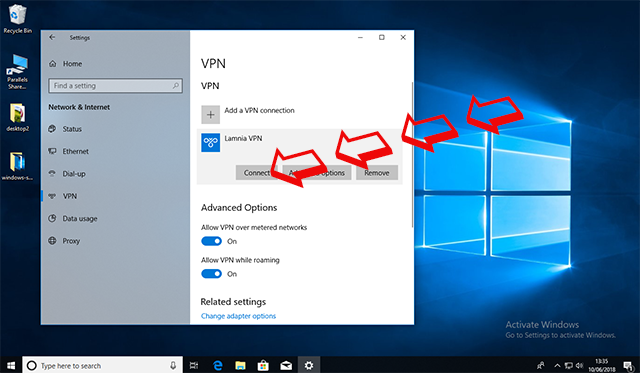
To Disconnect click on Disconnect.

You can repeat this process to add multiple VPN Connections. Just type in a Connection Name accordingly.